Decal Tool

The Decal Tool is a way to place custom images (stamps) onto the game table or objects.
Decals Menu
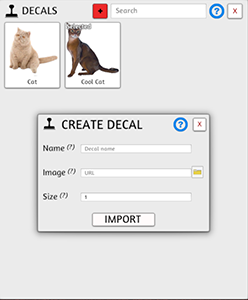
When the Decal Tool is selected, it will open up the Decals Menu. Empty by default, this is where you upload images to use as decals.
Adding Decals
To add a decal, click on the red + at the top of the menu. This will open the Create Decal window. Provide the following:
- Name: The Name for this particular image.
- Image: The source image. You can paste in a URL or upload an Image from your computer to the Steam Cloud. You are also able to use local files on your computers, but online players will be unable to see them.
- Size: A Size multiplier. 1 by default, 2 would be twice the size and 0.5 would be half.
Editing Decals
When you mouse-over a decal in the Decals menu, a small box will appear in its upper-right corner. Click on it, and select Edit to modify the Name/Image/Size properties for that Decal.
Deleting Decal Images
Clicking on that same small box in the upper-right, select Delete to remove that decal. This prevents more from being placed, but copies of it that have been placed into the game world will remain unless cleaned up.
Placing Decals
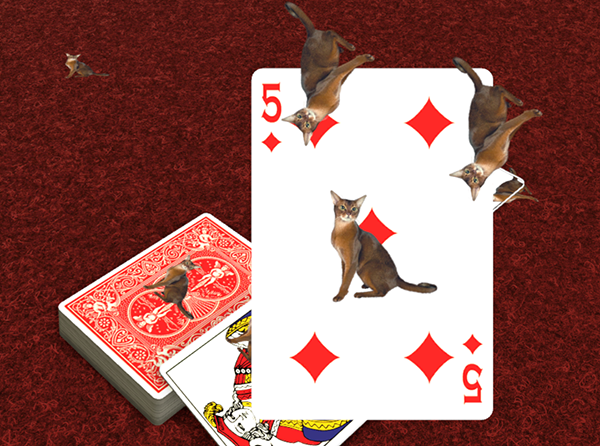
Click on a decal you have added into the Decals Menu and then click in the Game World. The decal will be placed based on your camera rotation and what "side" of the Object it is stamped onto.
Decals will adhere to whatever Object or surface they are placed onto.
Cleaning Up Decals
To remove a single Decal, click on it in-game with the Decal Tool. To remove all placed decals, click on the trashcan icon which appears when you mouse-over the Decal Tool selection button (upper left column of buttons).