Grids
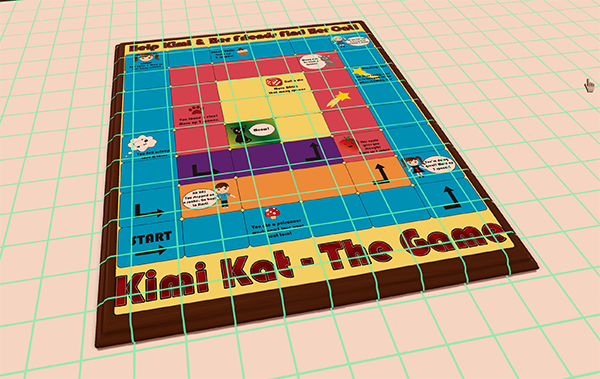
You can add grid lines to the table, and objects, using Options > Grid.
Features
- Project grids onto any surface (top-down).
- Optional snapping to points on the grid.
- Hex or square grids.
- Flexible size and placement.
Select Where Grids Appear
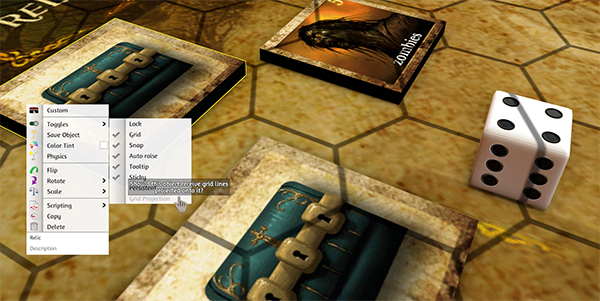
Grids only project onto boards and the table by default. You can enable any other object by right clicking on it and selecting Toggles > Grid Projection.
Menu Options
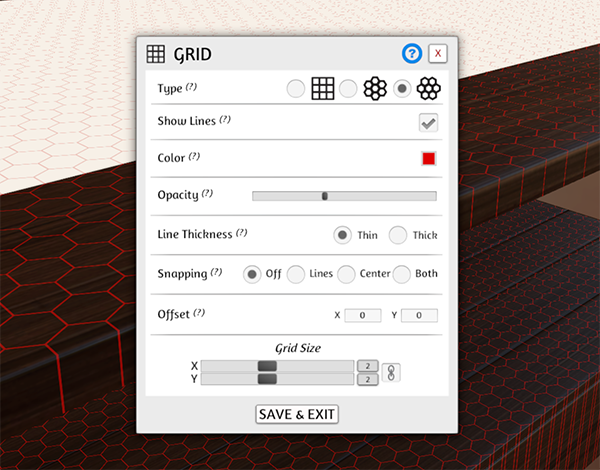
The grid menu allows you to modify if the grids appears as well as how they look/function.
| Setting Name | What It Does |
|---|---|
| Type | Choose between vertical and horizontal grids for hex and squares. |
| Show Lines | Enable grids appearing. |
| Color | Change the color of the grid. |
| Opacity | Change the transparency of the grid lines. |
| Line Thickness | Select between thick or thin grid lines. |
| Snapping | Enables grid snapping. See tip below for details |
| Offset | Offsets the grid, to line it up with your table. |
| Grid Size | Change the size of the grid's cells. The chain button on the right keeps the 2 bars synced. Click the numbers to manually input a number. |
Grid Snapping
Grid snapping to lines causes Objects to snap to the corners of the grid's cells.
Grid snapping to center causes Objects to snap to the center of the cells.
If you only want certain objects to snap to the grid, you can disable grid snapping in the context menu of each individual object.