Joint Tool

The Joint Tool is an advanced feature that allows you to connect objects together to create all sorts of things, like spinners, wheels, dials, and more.
You can learn more about Joints in our Tools Menu Tutorial video.
Bug
Currently, joints do NOT persist if you place the jointed item in a container (like a bag).
Examples
Below you can find some examples
- Battle For Souls DLC (Victory Points dial)
- Example Spinner on the Workshop.
- Roulette on the Workshop, created by Moneyman12167Casey.
- Video Guide created by Sergio Robles.
Creating Joints
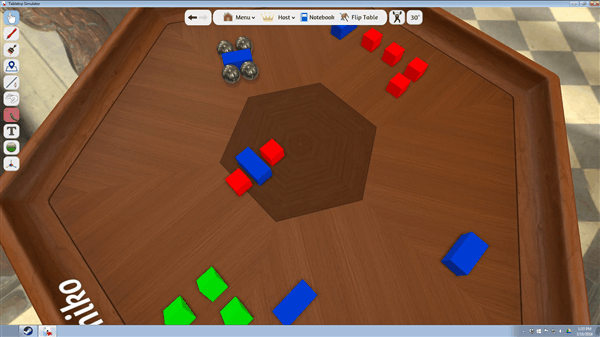
With the Joint Tool selected, mouse-over an item and hold left-click. Drag the cursor over the object you want to connect and then release left-click.
Tip
For the best results, always go FROM the object TO the base.
Example: If you are connecting a spinning arrow to a wheel, you would go from the arrow to the wheel, not from the wheel to the arrow.
Removing Joints
Removing joints is easy. Begin to create a new joint on the object your originally started the joint on, but this time attach it to nothing. This will cause the old joint to detach.
Modifying Joints
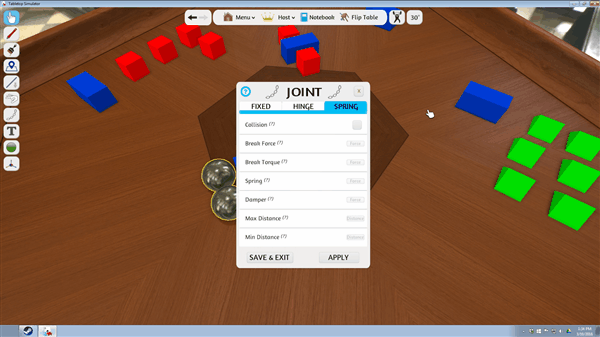
More than solid joints are available, you just need to modify an existing joint to alter its properties.
- Right-click on the object you started the joint on, and the context menu will appear.
- Clicking on "Joint" will open the Joint menu, which displays the properties of the joint.
- Fixed: A solid joint, not meant to move or twist.
- Hinge: A solid joint that can twist. "Motor" force can also be applied, causing rotation.
- Spring: A flexible joint.
- Each type has its own properties which can be modified to change the joints behavior. Mousing over the
?next to each property will provide information on what it does. - When you're done, hit Apply or Save & Exit to save the changes.
- Hitting X in the upper right will close the menu without saving any changes.